- Refunds can be viewed by anyone with Client Portal access, but only an Admin can initiate one.
- The payment must have succeeded.
- Today, this only works for card payments.
Step 1: Open the payment
Go to Transactions in the Client Portal, find the payment you want to refund, and open it. Only card payments that succeeded are eligible for a refund.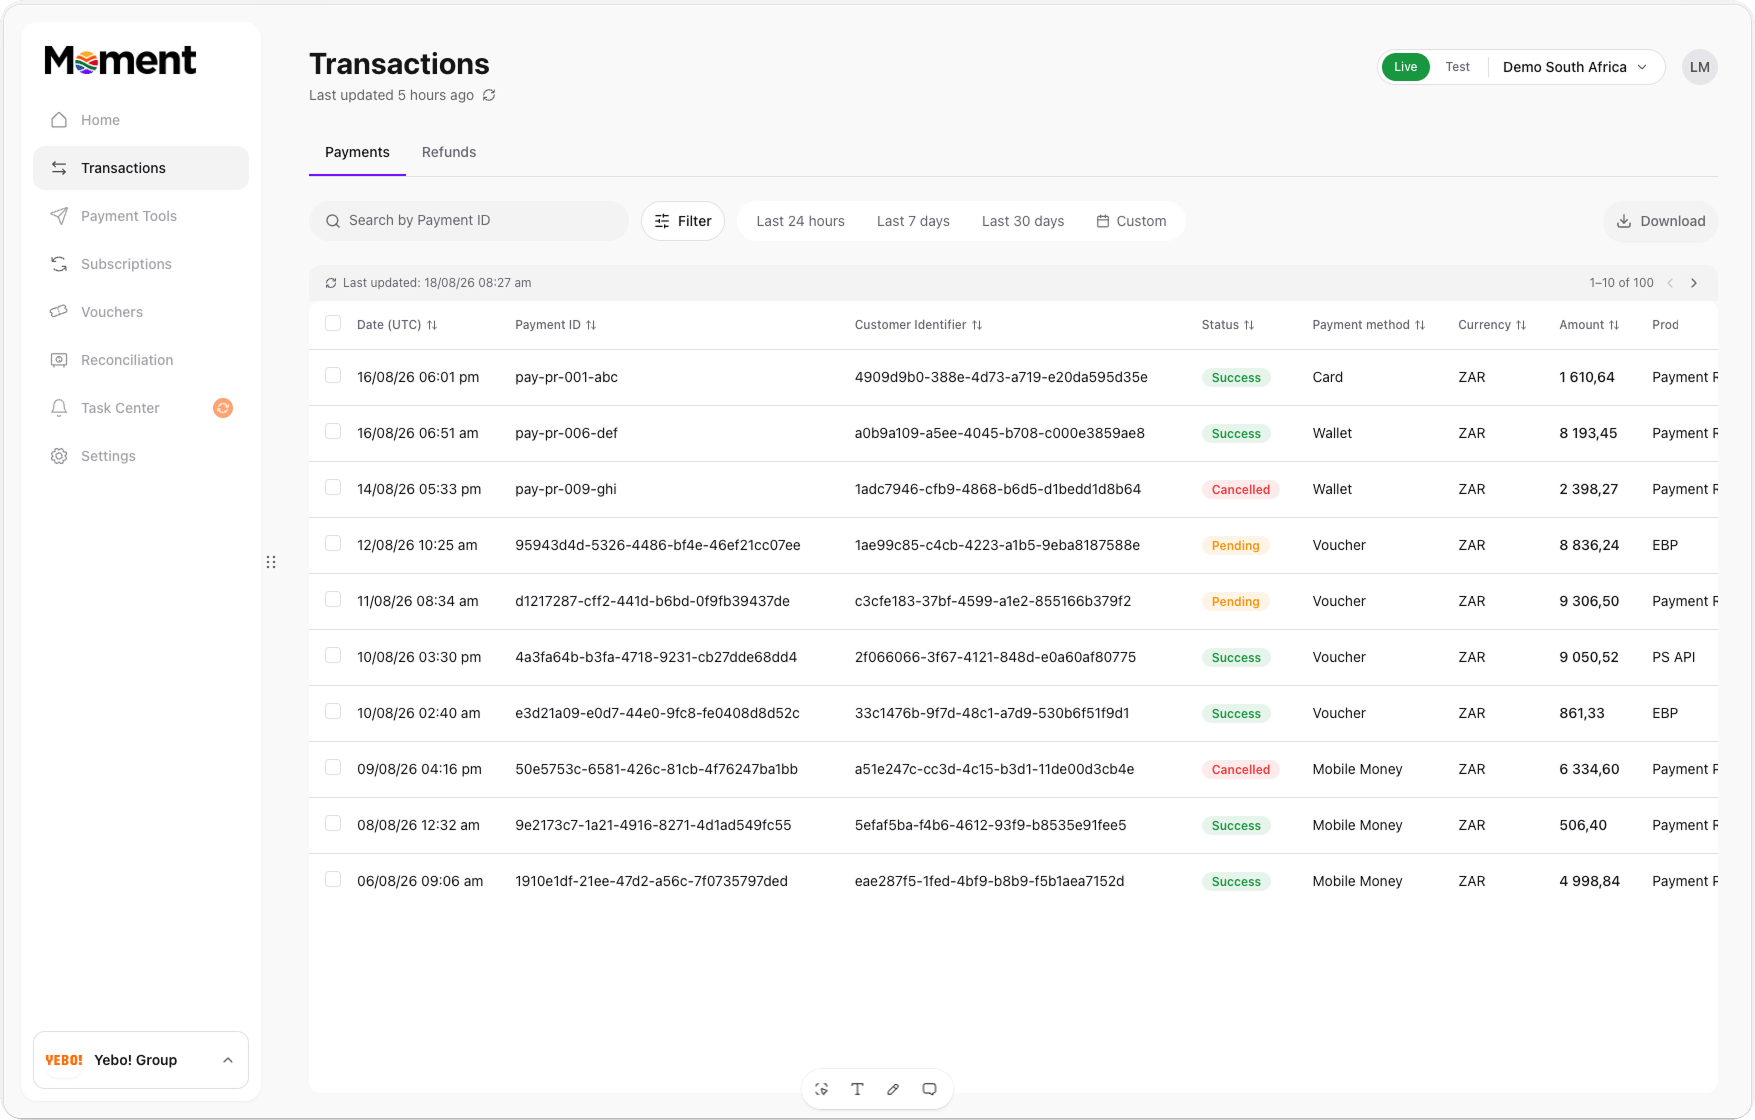
Step 2: Initiate the refund
Open the Refund tab in the side panel and click Initiate refund.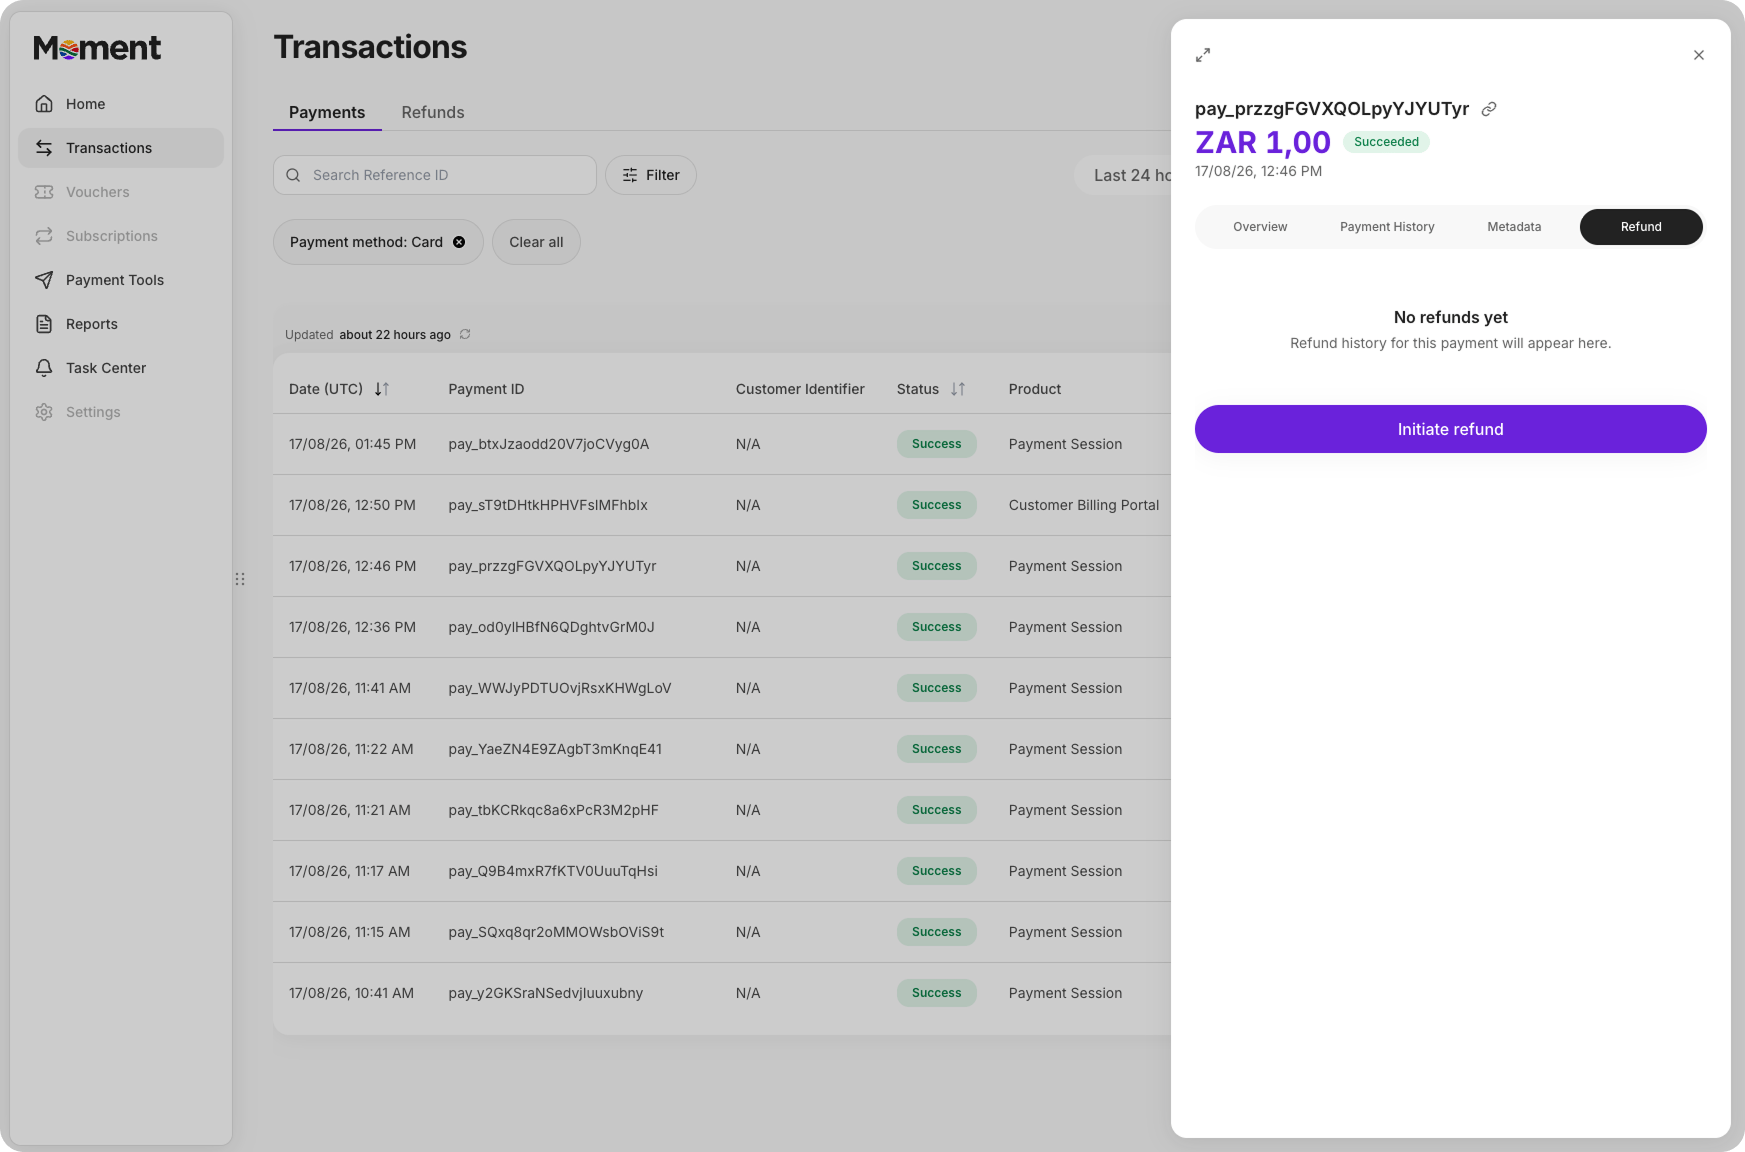
Step 3: Fill in the refund details
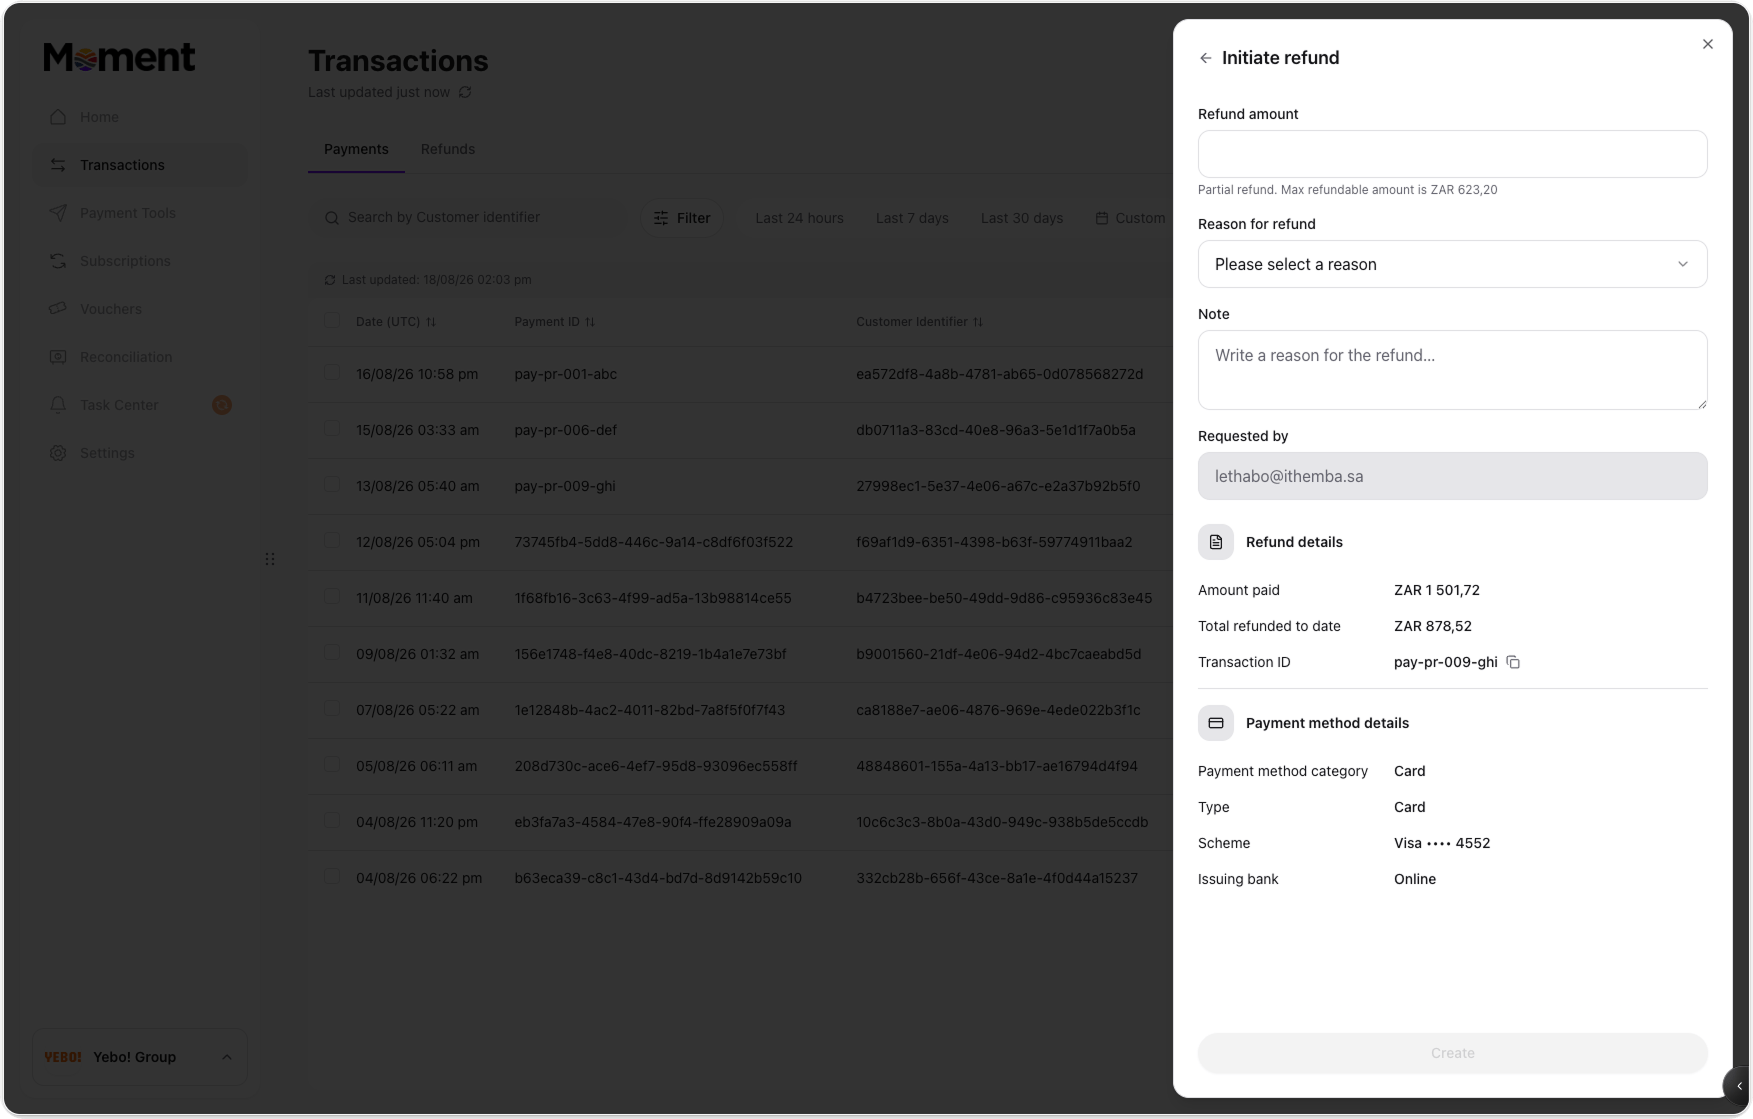
- Refund amount: How much to send back to the customer. This can be the full amount or less (a partial refund). If the payment has already been partially refunded, you can only refund up to what’s left. The form shows Amount paid and Total refunded to date so you can see how much is still available.
- Full refund: A shortcut that fills in the refund amount for you, so you don’t need to work out the remaining balance yourself.
- Reason for refund: A required dropdown so there’s always a clear, consistent record of why a refund was issued. This helps with reporting and any later queries about the transaction.
- Note: An optional free-text field for any extra context that doesn’t fit the standard reason. Useful for support teams reviewing the refund later.
- Created by: Automatically filled in with your email address. This isn’t editable, so there’s always a clear record of who initiated the refund.
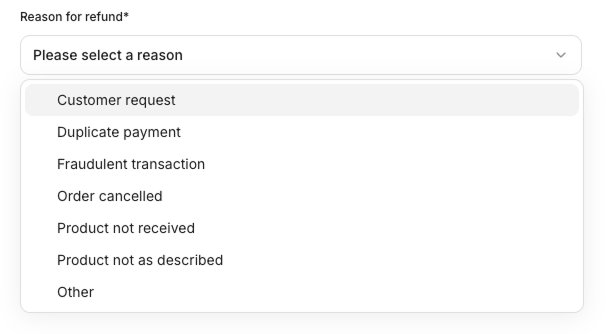
- Customer request: The customer asked for their money back (for example, they changed their mind or no longer want the item or service).
- Duplicate payment: The customer was charged more than once for the same purchase.
- Fraudulent transaction: The payment wasn’t authorised by the actual cardholder.
- Order cancelled: The order was cancelled before it could be fulfilled.
- Product not received: The customer paid but never received the physical goods.
- Product not as described: The customer received the product, but it didn’t match what was described.
- Other: Anything that doesn’t fit the reasons above. Use the Note field to add detail.
Step 4: Confirm the request
You’ll see a confirmation screen letting you know the refund is on its way and will be processed within 3 to 7 business days. From here, click See refunds to jump straight to the Refunds tab and check on its status.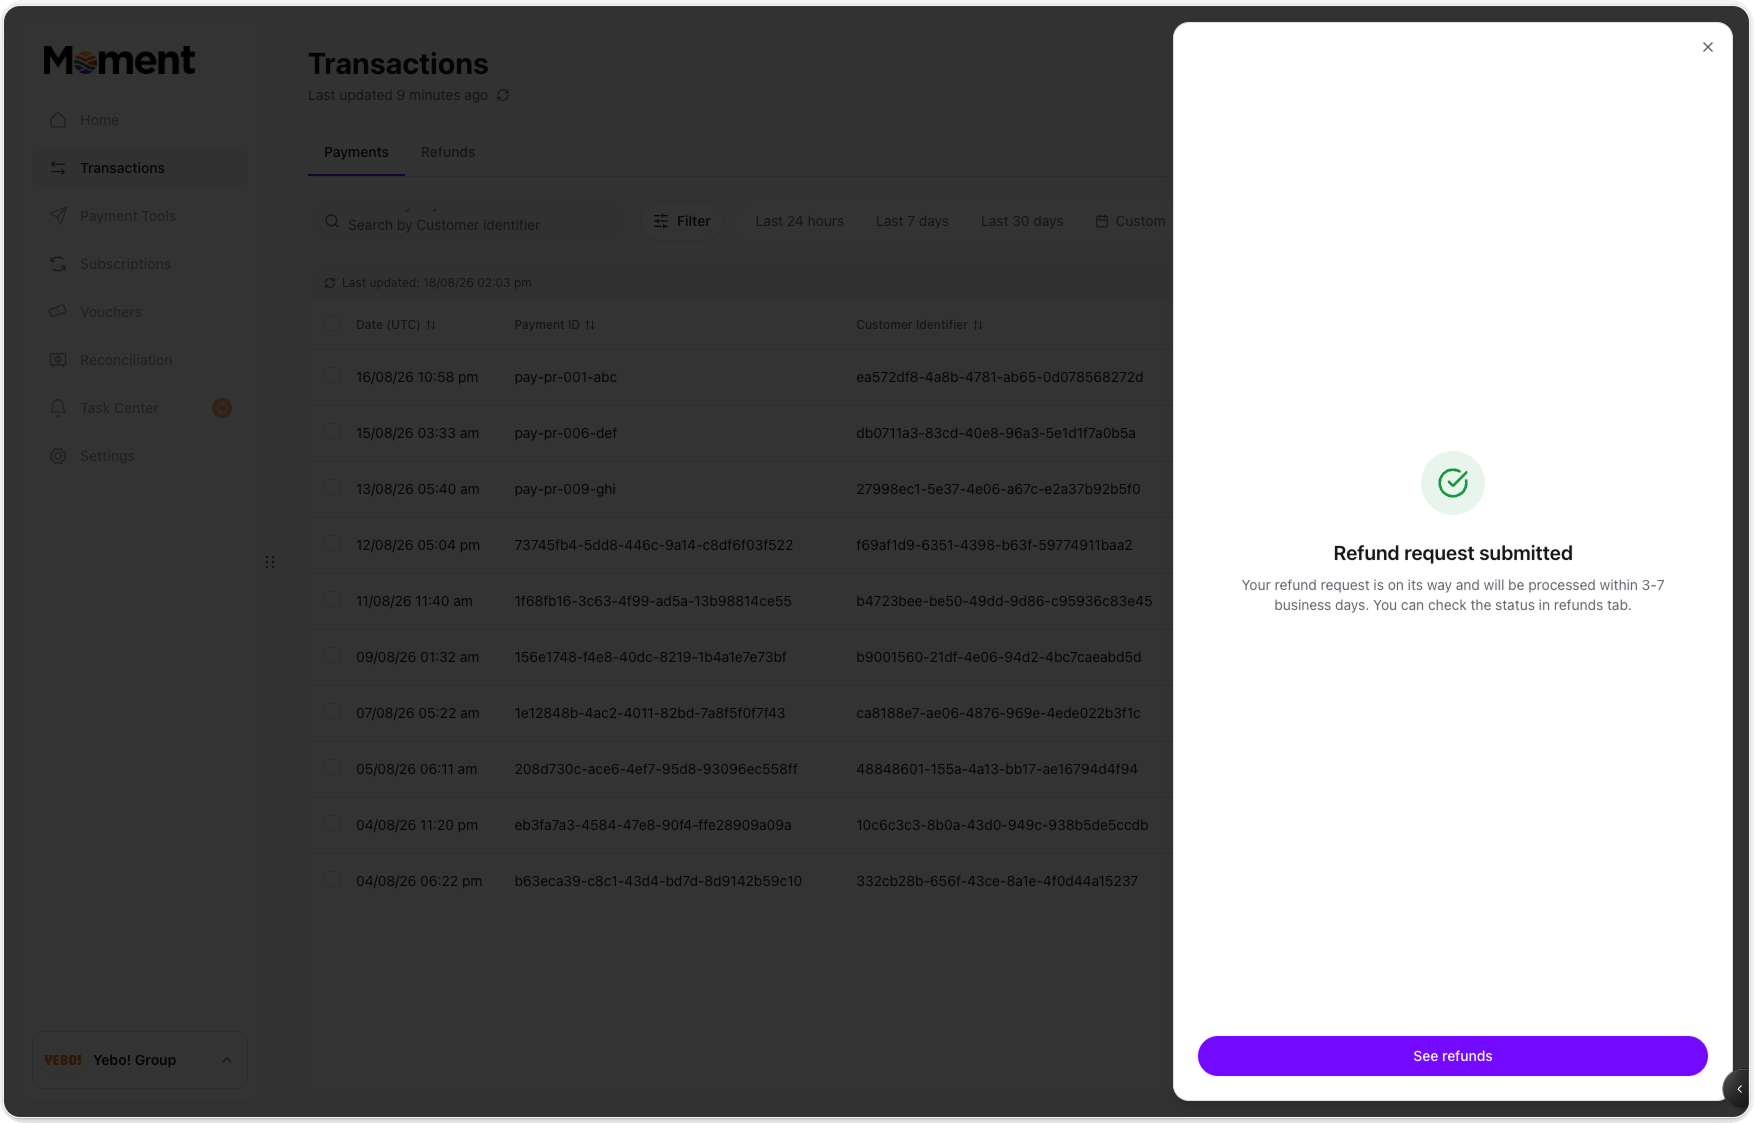
Viewing all refunds
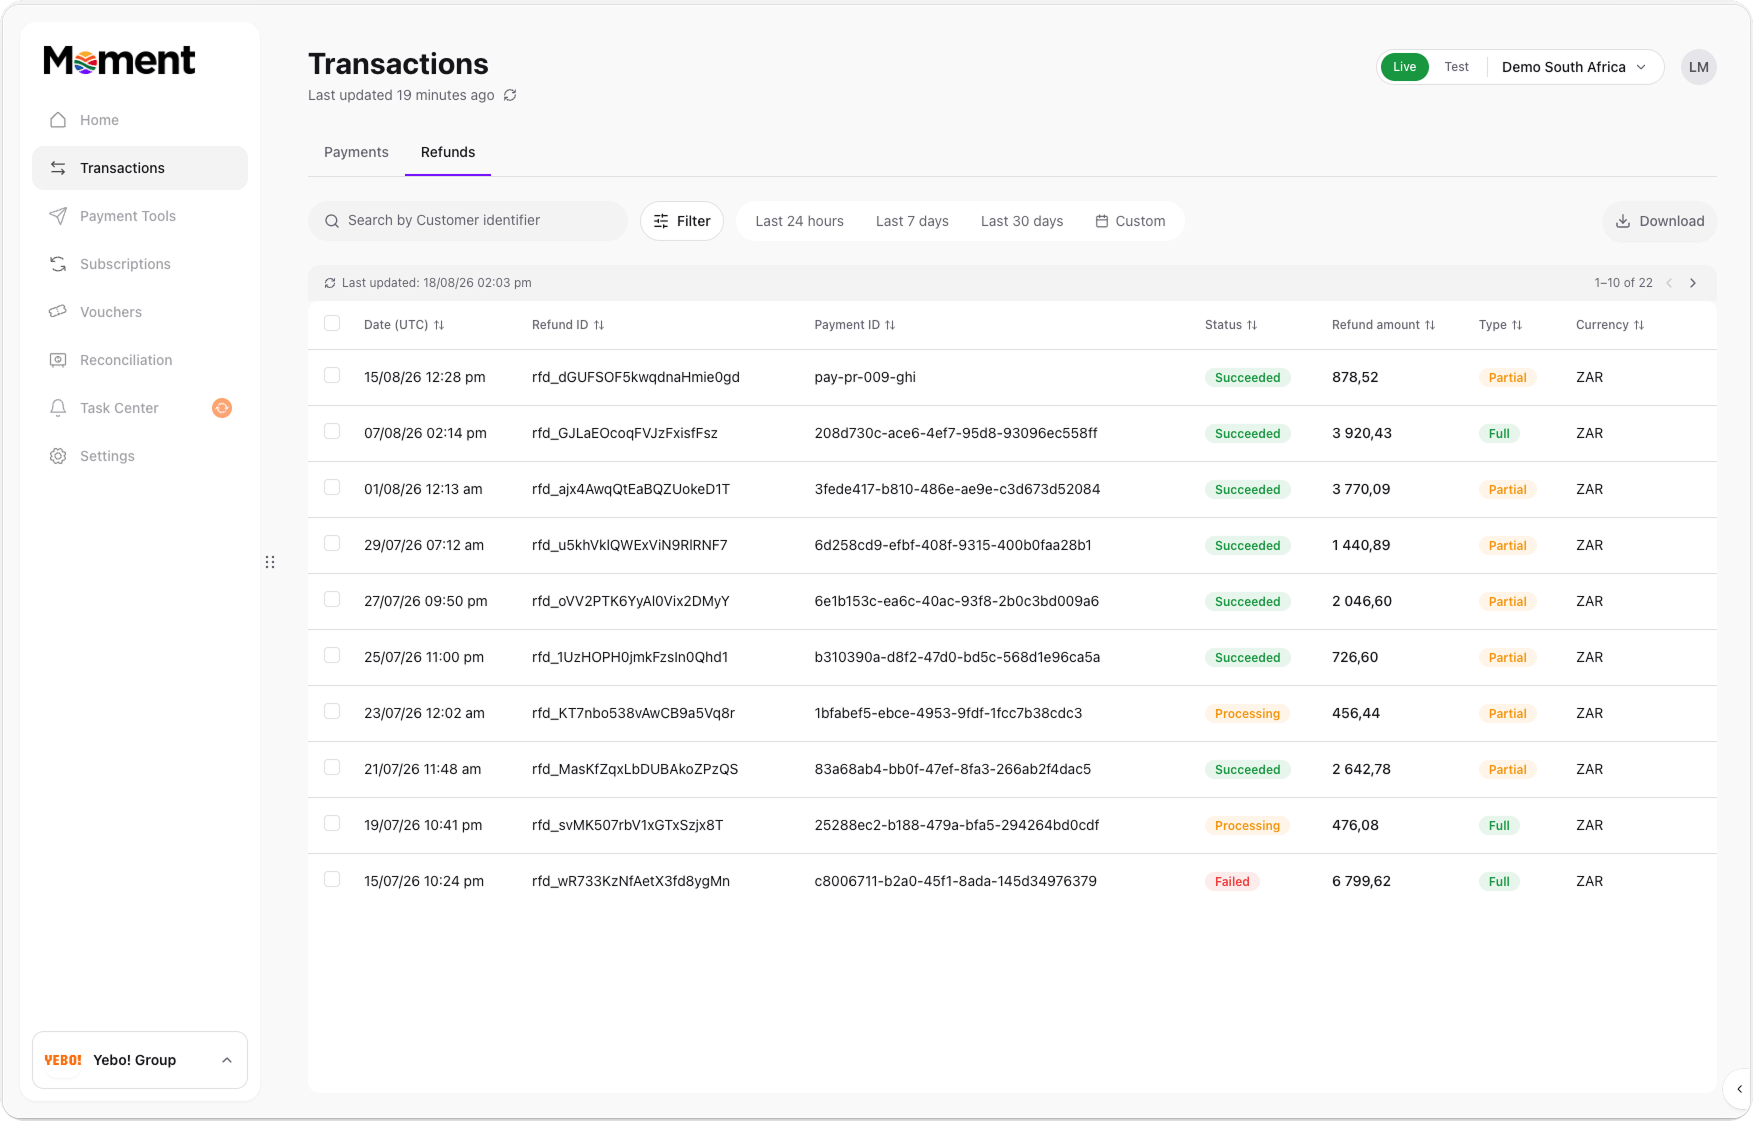
The Refunds tab, next to Payments under Transactions, lists every refund that’s been initiated, so you can check on status without opening each payment individually. You can search by Refund ID, filter, or download the list. Each row shows:- Date: When the refund was initiated.
- Refund ID: A unique reference for the refund itself, separate from the Payment ID.
- Payment ID: Links back to the original payment being refunded.
- Status: Succeeded, Processing, or Failed.
- Refund amount
- Type: Full or Partial.
- Currency
Refund details
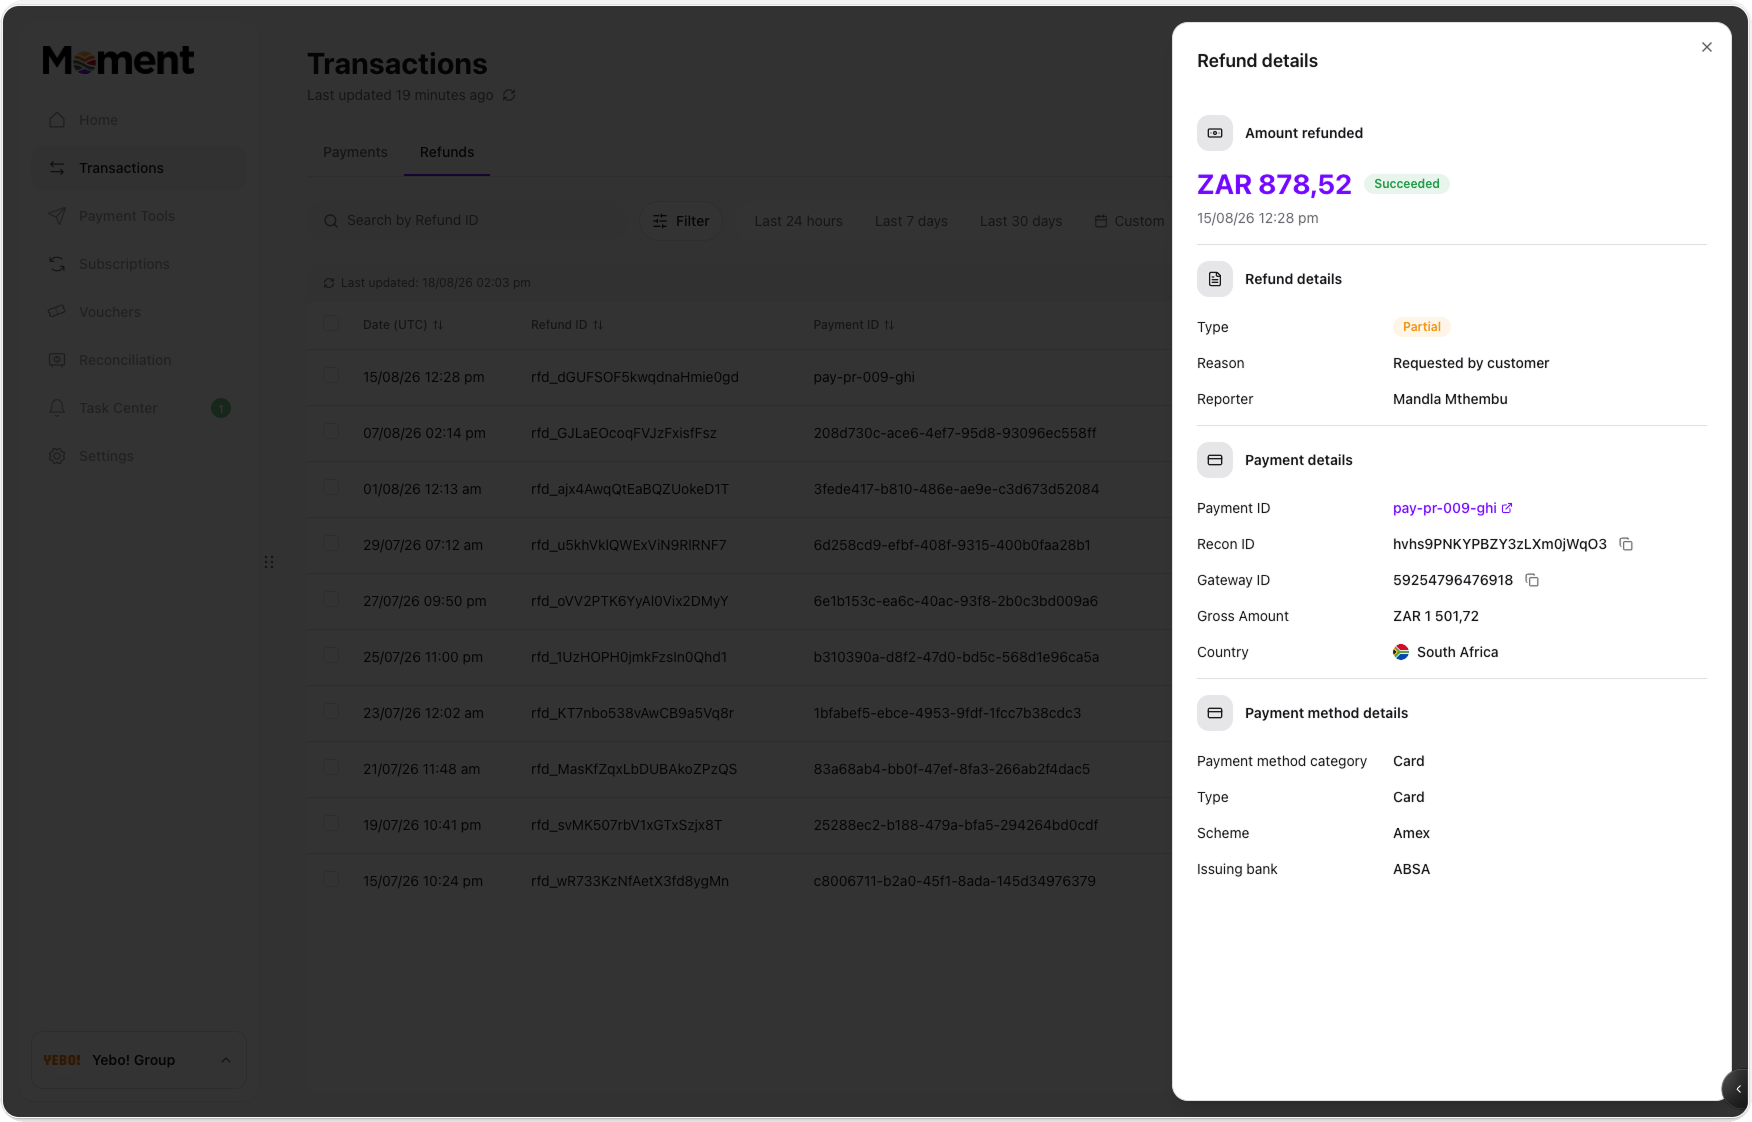
Clicking into a row from the Refunds tab opens a Refund details panel with:- Amount refunded, its status, and the date and time it happened.
- Refund details: The type (Full or Partial), the reason selected when it was created, and the reporter (who initiated it).
- Payment details: A link back to the original Payment ID, along with the gross amount of that payment and the country it was made in.
- Payment method details: The payment method category and type used (for example, Card), plus the scheme (for example, Mastercard) and issuing bank.